Stalking a deer then harvesting the animal is satisfying, but your job doesn’t end when you pull the trigger or release the bowstring.
That fallen deer is a wonderful bounty of resources. The meat can feed a family for a long time, bones and antlers can be used to make tool handles, and of course, there’s the deer’s hide.
You can use deerskin as decoration or as a source of leather for furniture and clothing.
However, you have to tan the deer hide first.
Believe it or not, buying your own tanning solution is cheaper than having a commercial tanner process your deer pelt. That will set you back $50, $100, or more, and only save you a little labor!
Why not tan the hide yourself?
You don’t even have to buy tanning solution if you want to use the natural method of tanning a deer.
Deer Hide Tanning Basics
Tanning a deer hide is when you stop the decomposition process of the deer’s skin and then treat the skin with both chemicals and physical activity to turn it into a smooth, soft, comfortable piece of leather.
Animals start to decompose immediately after they die, so you have to start work on the deerskin as soon as possible if you want to salvage it.
If your deer falls in a sunny area, move it into the shade immediately. Keep an eye out for nearby boulders in the shade too.
You don’t have to tan the deer hide all in one go. However, you do have to perform the first three steps in order to arrest the decomposition process.
How to Tan a Deer Hide
What You Need
- Dead deer
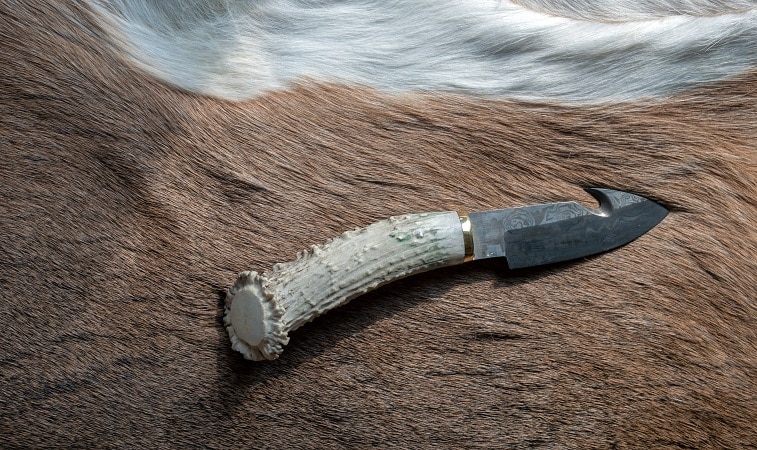
- Skinning knife
- Scraping tool
- Five-gallon bucket
- Non-iodized salt
- Soap
- A wood surface such as a sawhorse, bench, or railing
- Tanning solution
- Neatsfoot oil
1. Skin the Deer
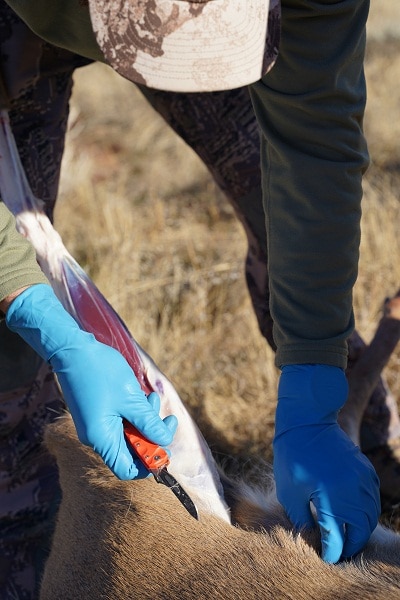
The first step to tanning a deer hide is to get it off the deer!
When you’re skinning the deer, try to damage the hide as little as possible. At the same time, cleave the skin from the meat as close to the skin as possible. This will make the next step easier.
Once you have the hide off, leave it in a shaded area, preferably on a cool rock, with the fur down. Wait until the pelt is cool to the touch before proceeding.
2. Flesh the Hide
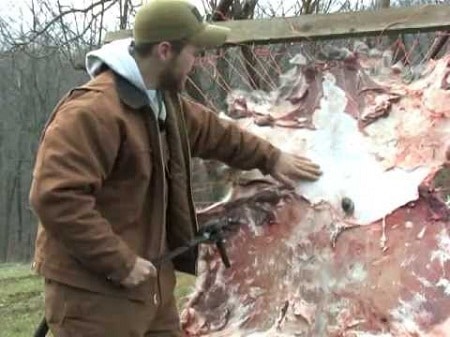
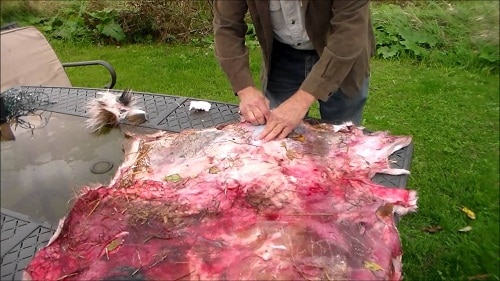
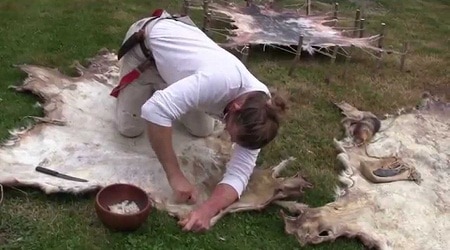
Even the most skilled deer skinner will leave chunks of flesh and fat attached to the hide. You need to scrape these off.
There are fleshing beams that make this process easy, but you can do it on the ground if necessary. Use a tarp if you can.
The best way to flesh the hide is to scrape it with a fleshing tool. If you don’t have one, then you can use a knife, but be careful not to cut into the hide!
A sharp rock can also be used to scrape off all the flesh bits.
Scrape the entire hide. There’s a nigh-invisible membrane layer that will block the tanning solution from penetrating if you leave the hide unscraped.
3. Salt the Hide
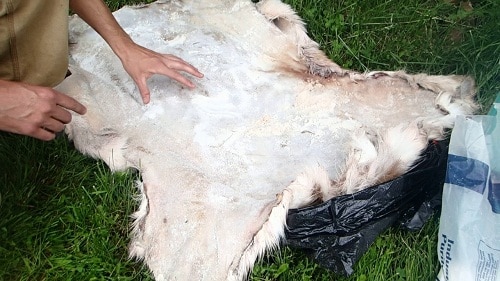
Once the skin side of the hide is clear of anything except for skin, you want to coat it with non-iodized salt. Sea salt works great for this purpose.
It can take anywhere from three to five pounds of salt to salt a whitetail deer hide. Bigger or smaller breeds of deer take more or less salt.
Completely cover the skin side of the hide in salt. This will stop the decomposition process because most microscopic life responsible for decomposition can’t survive a heavily salted environment.
The salt will also pull moisture out from the hide. This also helps stop decomposition but can make a mess. Fold the deer hide once, skin to skin, and roll it up. Then, put it into a plastic bucket so it doesn’t leak everywhere.
24 hours later, unroll the deer hide, remove the old salt, apply a second covering of salt, and return it to the bucket.
Once your deer hide has been salted and all the moisture is gone, it’s basically preserved. You can put off the rest of the tanning process until you’re ready to tackle it.
Pull the hide out of the bucket after another 24 hours and either let it air dry until it’s a good day to tan outside or proceed to the next step immediately.
4. Soak the Hide
We’ll need to soften the hide now.
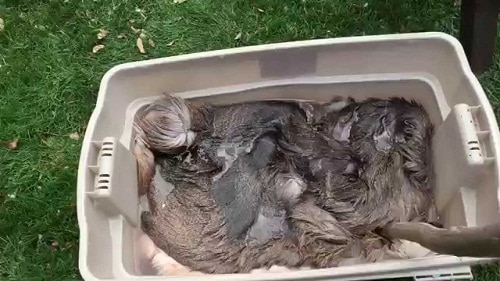
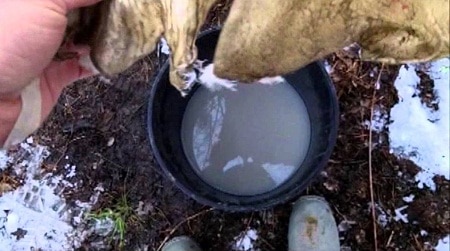
Mix a half pound of table salt per gallon of water in enough water to submerge the hide. Use hot water when adding the salt so it dissolves better, but let the water cool to room temperature before putting in the hide.
Completely submerge the hide in the water and leave it for about six to eight hours.
If you want to keep the fur, you don’t want to leave it in the brine solution too long because it’ll eventually cause the fur to start falling off the pelt.
5. Wash and Rinse the Hide
Let’s get the hide all clean and ready for the tanning solution.
Wash the hide in soapy water. Normal dish soap will work fine, as will castile soap.
Then rinse the hide until all the soap is completely gone.
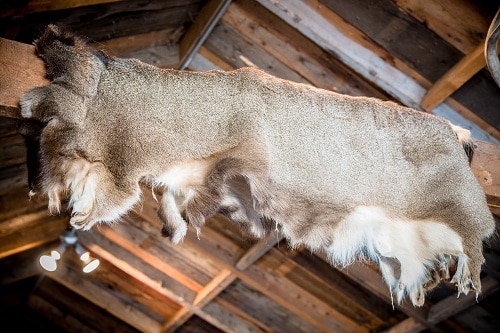
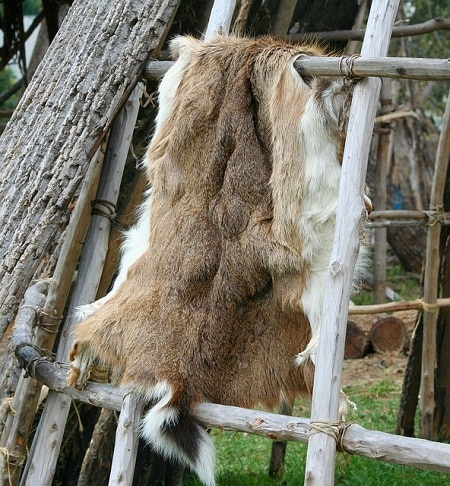
Set the pelt on a deck railing or similar surface and let it drip dry. When it’s only slightly damp, then proceed to the next step.
6. Apply Tanning Solution
Now it’s time to apply the tanning solution.
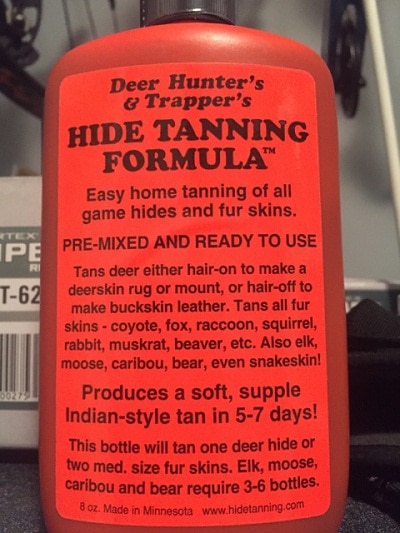
Commercial tanning solutions are inexpensive and easy to use. You can also use the deer’s own brain, which I’ll cover later.
Lay the hide fur side down. Make sure it’s not sopping wet and there are no pieces of meat you missed. Check the edges carefully.
Then put on some gloves because you don’t want to tan your hands.
Apply the tanning solution directly to the skin side of the hide. Spread it around with a paintbrush or with your gloved hands.
Make sure to cover every inch of the hide with the tanning solution. Work it in by massaging the hide with your hands. We want to permeate the hide with the tanning solution.
If you’re using a commercial tanning solution, then follow the bottle’s directions for how long to let the solution work. It might be a day, or it might be five days.
It’ll smell, so don’t store the hide in your bedroom for now.
7. Stretch and Soften the Hide
Once the tanning solution has completed its work, the deer pelt will be stiff and unpleasant.
It’s time to stretch and soften the hide. There are multiple techniques you can use to do this.
A simple method is to spray the tanned hide with water to loosen the fibers, then pull it back and forth on a sawhorse, log, bench, or railing. Apply plenty of pressure, and do this movement at various angles until the hide is as soft as you want it to be.
Traditionally, deer hides were stretched on a drying rack.
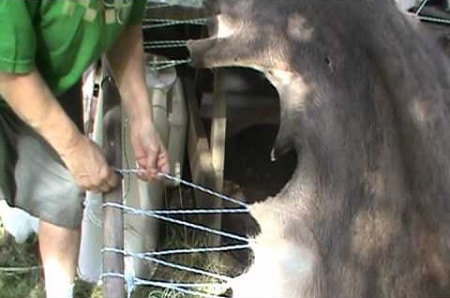
If you want to use this method, then build a square frame larger than the hide by four to six inches on all sides. Punch holes all around the deer hide, less than an inch in (though not right next to the edge), and string line through those holes to pull the hide against the frame.
This will stretch the deer hide, so you’ll need to tighten the line occasionally. You will also need to use a stick to loosen up the fibers more. Use the stick to apply pressure and rub it around the entire hide.
Some native peoples even turned this process into a game by tossing small children onto the hide, much like a small trampoline!
If you want a suede-like finish, then apply a fine-grit sandpaper to the softened hide.
You may also want to oil the hide as a final step, which also helps soften it. Neatsfoot oil is the traditional oil used.
How to Use a Deer’s Brain to Tan a Hide Naturally
Did you know that a deer carries the chemicals you need to tan its own hide?
It comes with just enough too — in the brain.
Making a deer-brain tanning solution is not for the faint of heart, but it minimizes waste and is an even cheaper method of tanning a deer hide.
Make the Brain Oil Tanning Solution
All you need to turn a deer’s brain into a tanning solution is a saucepan, source of heat, and a cup of water.
Cook the brain in a cup of water until the brain starts to break down. It’ll eventually liquify, but you’ll need to mix the liquid to ensure that it’s completely smooth.
Apply the brain soup to the hide the same way as a commercial tanning solution by covering the entire hide and working the goop into the skin.
Roll up the hide, put it into a plastic freezer bag, and store it in the fridge for 24 hours.
Remove the excess brain mixture and soften the tanned hide as above.
Smoke the Hide
The traditional way of finishing a brain-tanned deer hide is to smoke the hide, which helps preserve the leather.
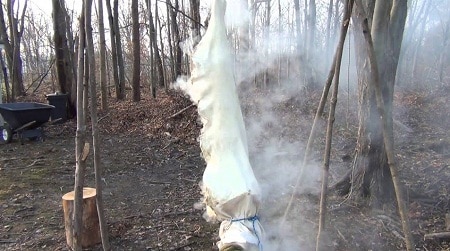
You’ll need to sew the hide’s sides together so there’s only one opening. Tie the other side of the hide to a support structure, which can be as low-tech as three sticks tied together at the top.
Build a small fire, preferably in a hole in the ground about a foot wide and half a foot deep. Cover that fire with the open end of the hide.
Keep the fire smoking by adding smoke chips. Smoke the hide for half an hour, then flip it inside out and smoke again for half an hour so both sides are equally smoked.
Then you can unsew the hide. Congratulations! You tanned a deer hide naturally.
Removing the Fur
If you don’t want a deer pelt and instead want deer leather, AKA buckskin, you’ll need to remove the hair.
This will also allow the tanning solution to more effectively permeate the fur side of the skin.
All you have to do to remove deer hair is to use a fleshing knife (which is somewhat blunt) or a hide scraper while the hide is dry but not yet tanned. Scrape the hide against the grain. It’ll take more force than you expect over most of the hide, but be careful about tearing through the delicate belly section!
If you remove the fur (and the top layer of the epidermis) and tan the deer pelt using the deer’s brains, then you made buckskin.
Deer Tanning Technique Variants
There are variants on these deer-tanning methods. For example, some people soak the hide in an acid bath for half an hour instead of salting the hide. To do this, use one cup of vinegar in five gallons of water.
Also, when using the brain solution, you can soak the deer hide, wring out the liquid, let it dry, soften it, then repeat the braining process.
You can even use egg yolks as a brain substitute!
No matter the variations you use, as long as you end up with a supple yet tough deer hide, you’ve tanned the deer hide successfully.
Conclusion
Tanning a deer hide takes a lot of physical work — more than most people expect. However, the results are worth it and cost you very little when you use the deer’s brain as the tanning solution.
Did I mention that even nonhunters can practice tanning?
Find a meat processor during hunting season. Some of them will let you pick up deer heads and hides left by uncaring hunters for free!

