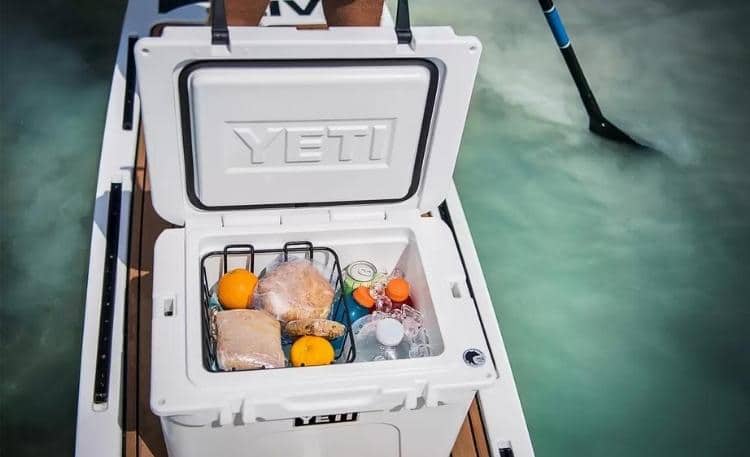
Improperly packing a cooler can lead to consequences that range from merely inconvenient to dangerous. Warm drinks or soggy bread are a bummer and food poisoning is a trip killer. Learning how to pack a cooler properly can help keep your food cold, tasty and safe.
How To Pack a Cooler
We’ll get into the nuances of different scenarios later, but here are the main steps to packing a cooler properly.
- Don’t start until you are finished packing everything else for your trip.
- Add a layer of ice to the bottom of the cooler.
- Pack items that need to stay the coldest, such as meat, dairy, and eggs.
- Add another layer of ice.
- Pack your produce and cold cuts.
- Continue to add layers of ice and food until everything is packed.
- Don’t load the cooler into your vehicle until you have loaded everything else.
Related: Best Coolers Reviewed (Budget to Best on The Market)
You’re probably wondering if the above steps make sense for your situation. It’s true that there are many different cooler types and uses. Let’s dive into more detail.
How To Keep a Cooler Cold the Longest
Several factors determine how to pack a cooler to stay cold the longest.
Follow these tips to get the most cooling time out of your cooler.
1. Cool Your Cooler
If you put cold food and ice in a hot cooler, your ice will begin to melt before you’re headed out. Your food is going to get warm!
48 hours before you plan to use it, move your cooler into a room temperature location (or colder). The night before your trip, pack the cooler with ice to pre-cool it overnight.
2. Prepare Your Food
Take these steps to get your food ready to go into your cooler:
- Chill your food in the refrigerator.
- Prep your ingredients before you pack.
- Remove as much food as possible from the original packaging and put it in resealable storage containers or bags.
- Keep your food separated and packaged by type, just like you’ll pack it in the cooler.
These steps help reduce the space your food takes up in the cooler and protect your food from getting wet.
They’ll also make it easier to find what you need later so you aren’t leaving the cooler open longer than you need to.
3. Freeze Your Meat
The key to how to pack a cooler with meat is starting with cold meat. Frozen meat helps keep your cooler cold and buys you an extra one to two days of safe storage time.
The meat will typically thaw in a standard cooler in about two days. It’ll stay frozen longer in a well-packed rotomolded cooler like a YETI, Orca, or RTIC.
If your meat isn’t completely thawed by the time you are ready to cook, it is safe to cook it from frozen. Expect it to take up to 50% longer to cook though.
If you are worried that your steaks won’t be good if cooked from frozen, consider that some chefs recommend always cooking meat from its frozen state.
You should always keep meat at 40ºF or below. Buy a thermometer and attach it to the inside of your cooler to make sure you are maintaining a safe temperature.
4. Use Plenty of Ice
Unless you’re just taking a day trip, aim for twice as much ice as contents in your cooler. Fill gaps with cubed ice.
If everything won’t fit, opt for a second cooler instead of using less ice.
5. Put Your Cooler in the Shade
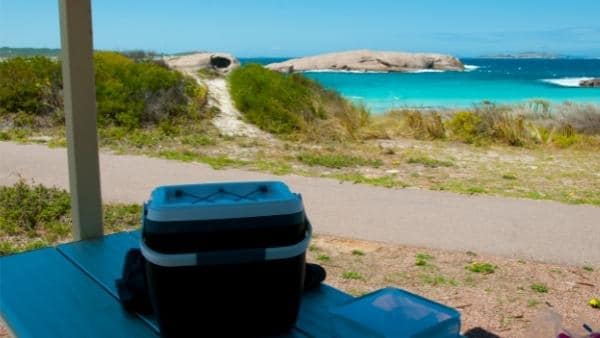
How you pack a cooler matters, but how you store and use it also plays a role.
Bright sunlight will heat your cooler quickly. Store it in the shade and cover it with a light-colored blanket or towel.
6. Don’t Open It More Than Necessary
Only open the cooler when you need to. Grab your drinks then shut it tight fast.
When preparing meals, take everything you need out at once instead of going back for individual items.
7. Don’t Drain Your Cooler
If you can replenish your ice supply, go ahead and drain the cooler and replace the ice.
Otherwise, leave the water in there. It will help keep both the food and the remaining ice cold.
4 Cooler Packing Scenarios
Perhaps you’re looking for tips on a specific cooler packing situation. We’ve got you covered.
1. How To Pack a Soft Cooler Bag
Many of the tips for packing a regular cooler apply to cooler bags.
Ice packs usually work better in cooler bags than regular ice. Regular ice takes up more space, and when it melts, the water can leak out of some cooler bags.
For longer trips, place ice packs in the bottom of the bag where they will last the longest. For short trips, place the packs on top, where they will keep everything the coldest but thaw out faster.
Ice packs placed between items help avoid some items being warmer than others. The expected thawing time falls between the other two methods mentioned.
2. The Best Way to Pack Wild Game in a Cooler
Here are the steps to preparing a cooler for a hunting trip:
- Before heading to the field, fill your cooler about a third of the way or so with block ice.
- Place a layer of thin foam pad (like the cheap camping pads) over the ice.
- In the field, leave your harvested and quartered game in game bags.
- Lay the bags of meat over top of the foam pad and ice in the cooler.
- Pack the cooler as full as possible, but make sure it c.oses tight.
- Avoid covering the meat with ice so the meat doesn’t get waterlogged.
Proper field dressing is the key to keeping your wild game safe in a cooler. Ideally, you should remove the organs within 30 minutes. These spoil faster than the meat and can ruin your whole animal if you don’t take them out. If you want to eat them, clean them and immediately pack them in ice in your cooler.
Related: Best Rotomolded Coolers Reviewed (Top Picks)
3. How To Pack a Cooler With Drinks
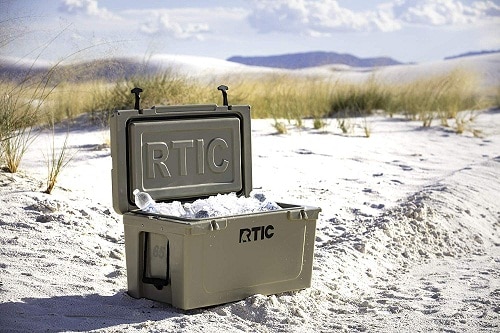
Use one 10 pound bag of ice for every 12 drinks in your cooler. A six-pack of soda or beer at room temperature needs more than a pound of ice to chill, so chill drinks before packing.
Using a separate drink cooler can be beneficial for several reasons:
- Drinks use a lot of the space in your cooler.
- If you plan to drink directly from the can or bottle, you risk exposing yourself to bacteria that could have seeped into the ice melt from your food containers.
- People usually get drinks out of the cooler more often than food. Opening the cooler frequently to get drinks raises the temperature of the cooler and melts ice faster. Warm drinks may taste bad, but they won’t give you food poisoning.
4. How To Pack a Cooler for Camping
Select a durable and well-insulated cooler that is just large enough to hold everything you need. 50+ quart coolers work well for camping trips up to six days long.
If you know you’re going to need to move around a lot or park a ways from your camp spot, choose a cooler with wheels.
Related: Best Wheeled Coolers Reviewed (Coolers That Roll)
Be vigilant about eliminating as much packaging from food items as you can before you pack your cooler. Leaving trash all over your campsite is bad camping etiquette, and you never know when the bins might be overflowing. Getting rid of the packaging in advance eliminates a lot of garbage.
While cooking over the campfire sounds romantic, you can save yourself some time and hassle at the campsite by cooking your food at home. Then you freeze your meals and pack them in the cooler neatly. Once at camp you only have to warm them up. Less effort, less mess, more time to relax!
When you get home from your camping trip, be sure and clean your cooler.
Pro tip: Save space at home by using your cooler to store some of your camping gear.
Cooler Ice
Do You Put Ice on the Top or Bottom of a Cooler?
Layer your ice like a lasagna.
- Start with a layer of ice cubes, ice blocks, dry ice or ice packs on the bottom.
- Pack the items that need to be the coldest.
- Add another layer of ice on top.
- Continue to add layers of food and ice until everything is in the cooler.
- Finish with a final layer of ice.
Ice blocks tend to last the longest and make an excellent base layer.
Make sure you fill any gaps with cubed ice. Your cooler should be filled to maximum capacity when you close it. If there are empty spaces, your ice will need to cool the air in those spaces, and it will melt faster.
You might find this article helpful too, Best Cooler for Ice Retention (We Tested 28 to Find Out).
Pro tip: To prevent your food from sinking into the gaps between the ice, add a sheet of cardboard between the food and ice layers.
Dry Ice vs Regular Ice
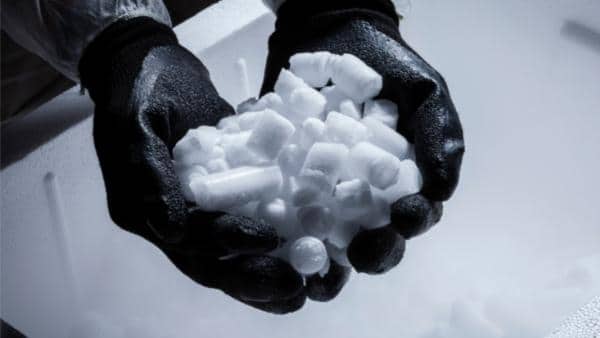
Dry ice is the frozen form of carbon dioxide. At -109° F, it cools about three times as well as regular ice.
Because you don’t need as much dry ice to get the same cooling power, using dry ice saves weight and space in your cooler. That means you can pack more food, meat, fish, or drinks in your cooler with the same cooling effect.
However, it isn’t safe to handle dry ice with your bare hands because it’s so cold. Use gloves, oven mitts, or hand towels and keep children away.
When dry ice melts, it emits carbon dioxide, which can be dangerous in areas with poor ventilation. Open a window when transporting a cooler with dry ice in a car.
Dry ice can cause food to freeze, so you may want to pack dry ice in the bottom of your cooler. Place items that can be frozen in the layer over the dry ice. You can then use regular ice for the remaining layers.
If you can’t find a place to buy dry ice, consider block ice instead. You can make block ice at home by freezing water in square food storage containers.
When Not To Use Ice
If you have food items that aren’t stored in watertight containers, or you are using a soft-sided cooler with a zipper closure that might leak, consider using ice packs instead of ice.
Conclusion
Safety and efficiency are the most important things to remember when learning to pack a cooler. Efficiency will help you fit everything you want to take with you in your cooler and keep it cool for your entire trip. Safety will ensure that all your tasty treats are safe to eat when you get there.
Recommended: How To Store Coolers So They Stay Clean and Last Forever

