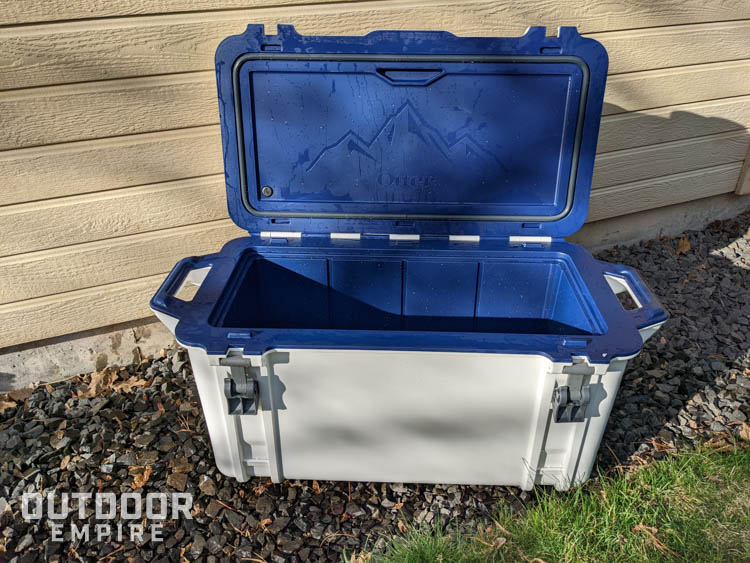
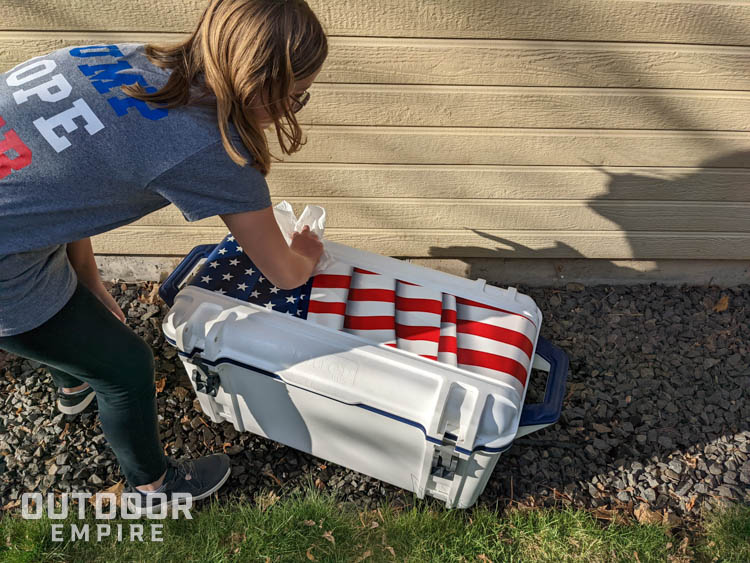
There are many ways to use a cooler. Some ways even involve raw fish or wild game meat. Whatever its primary use, you need to know how to clean a cooler properly.
It’s easy to toss the dirty cooler in the garage and save the cleaning for the next time you need it. But bad smells will form without routine maintenance and cleaning. Left too long, the mold may even set in.
With this guide and a few simple household items, your cooler will look as good as new. For hard-hitting stains and smells, we will walk you through cleaning agents with a little more power. All it takes is a little time and plenty of scrubbing.
Before you dig into a dirty cooler, be sure you have the right cleaning tools and know the proper techniques.
The Best Way To Clean a Cooler: A Step-by-Step Guide
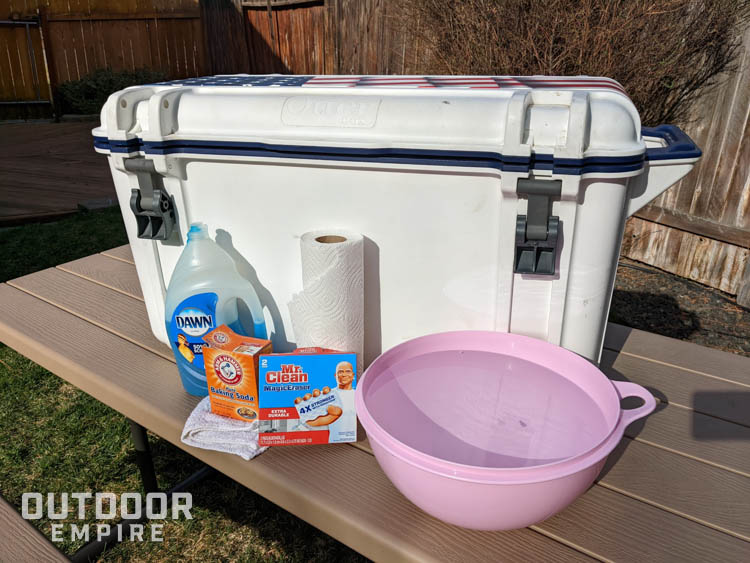
To get started, you will need the following:
- Warm water
- Soft dishwashing rag
- Paper towels
- Liquid dish detergent
- Baking soda
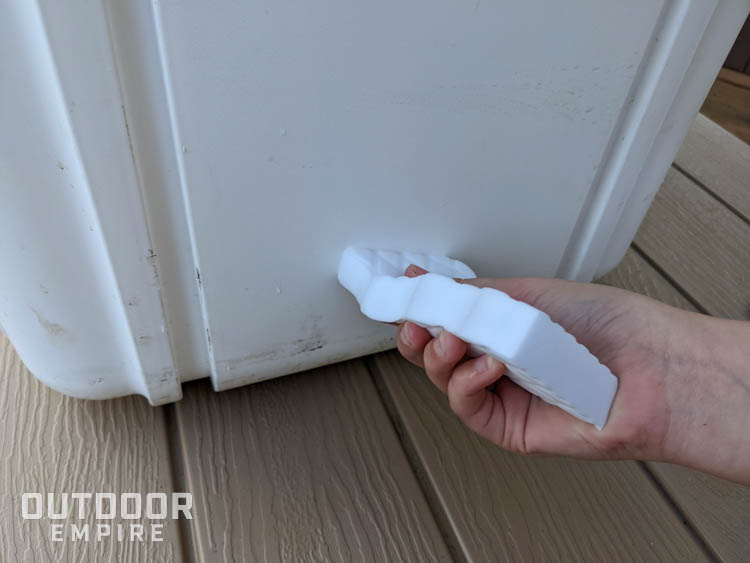
- Mr. Clean Magic Eraser (not required, highly recommended)
Every cooler starts with the first basic steps, and then some need a little more care later. If you need to know how to remove a foul smell or stains from a cooler, we’ll cover how to do that later on in this guide.
Let’s get to cleaning!
Step 1: Soak with warm water
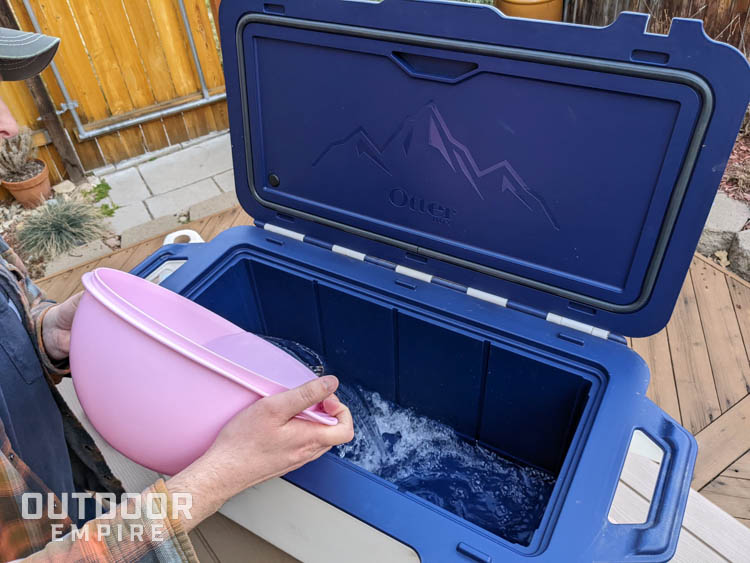
Add enough warm water to the cooler to cover the bottom.
If the cooler is small enough, put it in the sink and use the force of the sprayer to give it a good rinse to start.
Step 2: Add soap
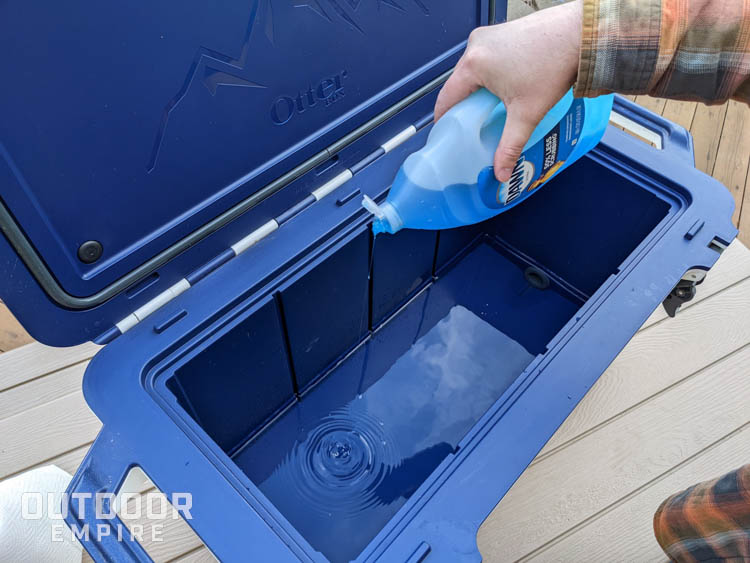
Add a small amount of dish detergent to the water. A strong detergent, such as Dawn, will break up the dirt and hard water scum with ease.
If you only have powdered dish detergent, just sprinkle it in warm water. It will work just as well.
For soft-sided coolers, you may want to keep the water in a bowl and dip your rag.
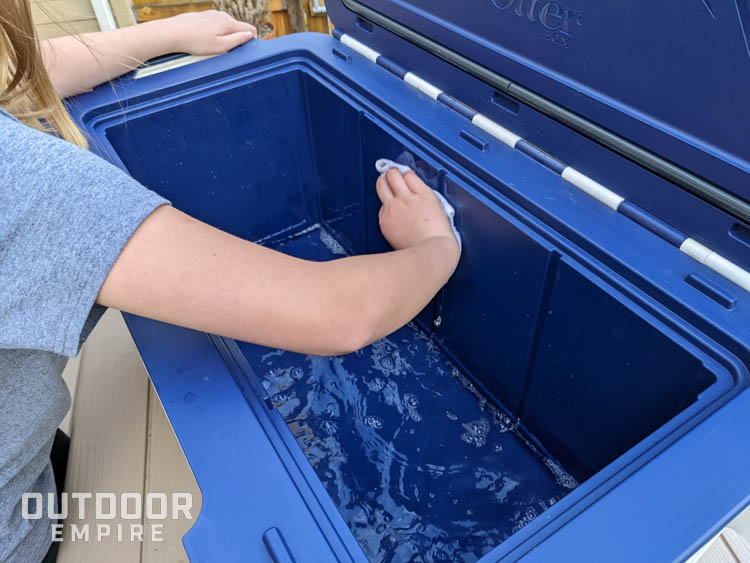
Step 3: Scrub away
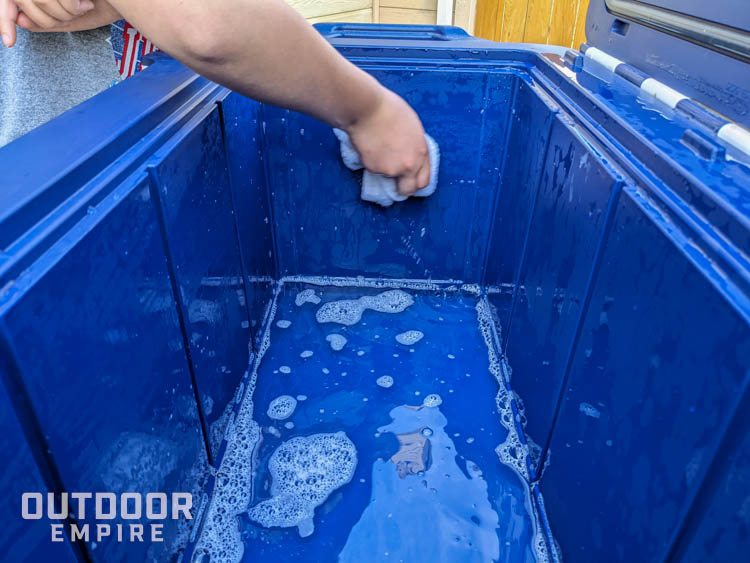
Use the dishrag to clean everything.
Pay close attention to the corners and around the drain. Mildew and hard water grime like to build up in these areas.
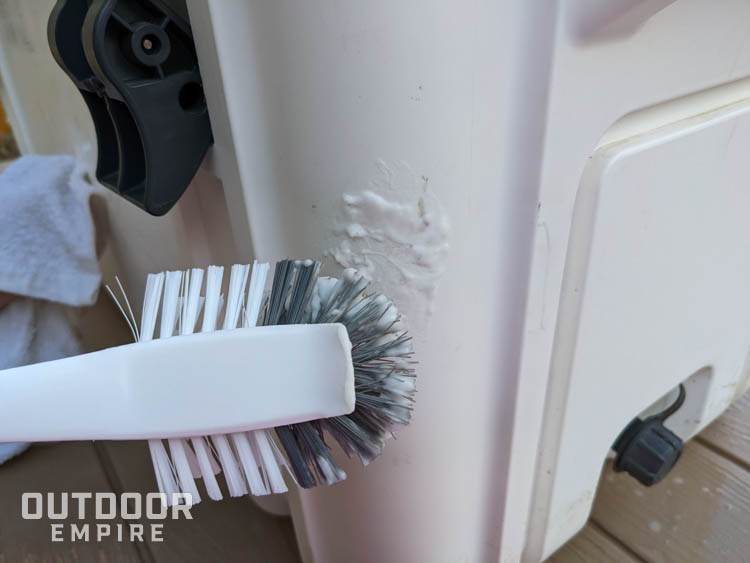
Step 4: Spot clean
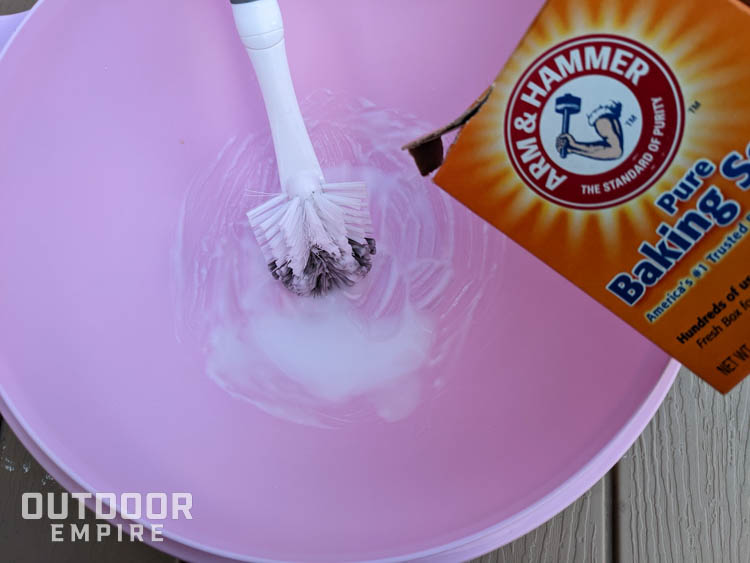
If you have spots that prove more difficult to clean and you need more power, mix baking soda with just enough water to form an icing-like paste.
Dip the rag or a soft-bristled brush in the paste and scrub in a circular motion.
Step 5: Clean the outside

Run the rag through some fresh warm water, add a little more detergent, and clean the outside.
You will probably run into more hard-to-reach places here. If the rag is not enough, there are household items that may help.
Use an extra toothbrush if you have it, or wrap the rag around a butter knife to give you a more pointed edge.
Step 6: Rinse and repeat
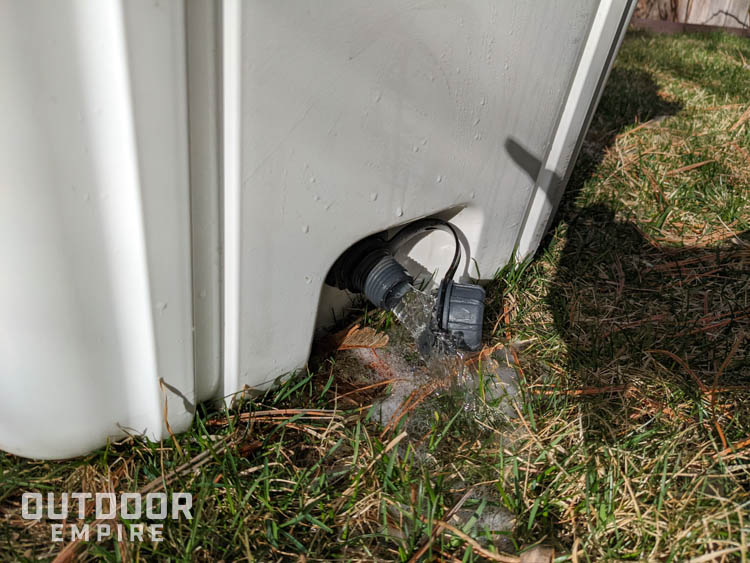
If your cooler has a drain, allow the water to filter through and clean the drain.
Dump out the dirty soap water inside and go over it one more time. Or as many times as you feel are necessary.
Step 7: Let it dry
Leave the cooler somewhere that it can air dry with the lid open.
If you prefer to put it away immediately or you simply hate water spots, wipe it down with paper towels or a dry cloth before you store it.
Don’t Use Abrasive Tools
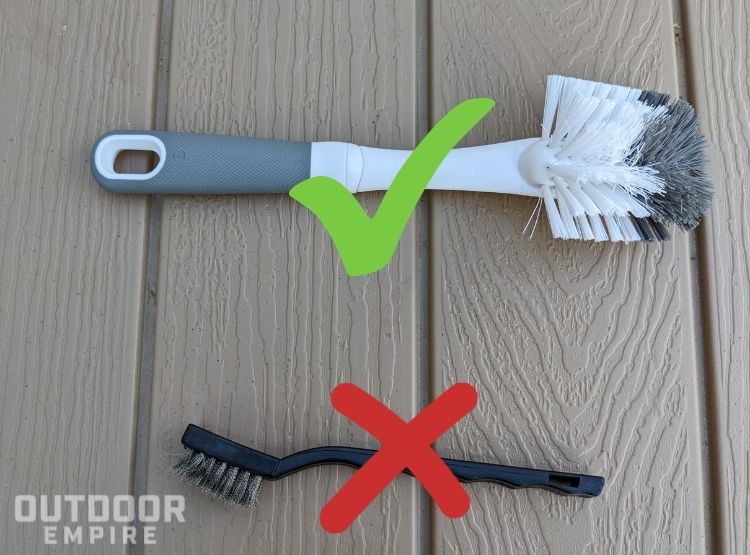
When learning how to clean a cooler, a general rule is not to use more abrasive cleaning tools. Things like SOS pads or metal scrub brushes will scuff up most plastic surfaces.
These are likely too harsh for the liner of a cooler and will leave scratches on the inside and outside. These scratches then become little harbors that collect dirt, grime and bacteria.
How To Clean Mold Out of a Cooler
Any cooler is likely to have water pool up which can lead to mold. Improper mold removal may result in contaminating the items that you keep inside.
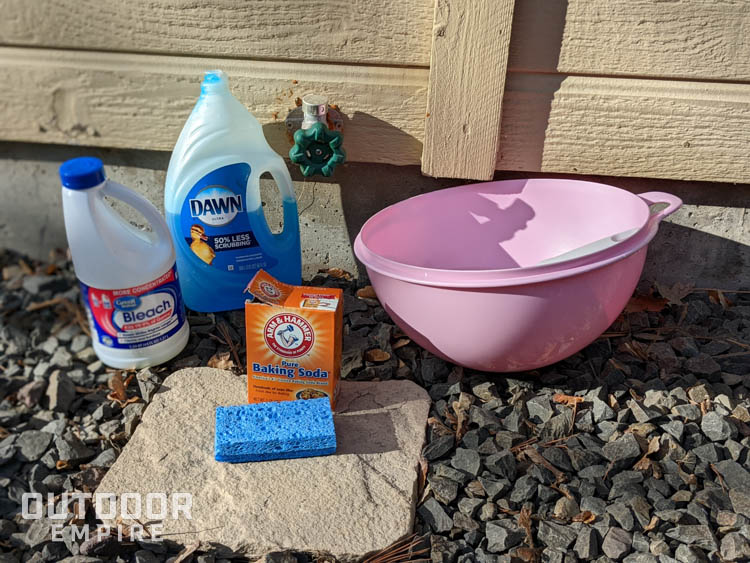
For standard mold cleaning, you need:
- Dish soap
- An outdoor water source
- Baking soda
- A sponge
- Warm water in a bucket
- Bleach
- This guide!
Follow the steps to remove mold from your cooler:
1. Wash the cooler out with a garden hose to remove any loose dirt.
2. Combine warm water, dish soap, and baking soda to form a cleaning solution. Use your judgment to determine how much baking soda to add to the solution. The more sturdy the mold appears, the more you may need.
3. Use the sponge to apply the solution to the cooler. Scrub the inside and outside thoroughly.
4. Rinse the cooler with the garden hose again.
5. Dump the original solution and create a new one using equal parts warm water and bleach.
6. Using the sponge, apply the mixture everywhere, particularly in corners and crevices. This is especially important for rotomolded and hardshell coolers, which have more nooks and crannies.
7. Let the solution soak on the cooler for at least 15-20 minutes before washing it away and towel drying.
A key element in how to clean a cooler is the regular maintenance that follows. Cleaning your cooler after every use and storing it in a dry place is the best way to avoid mold.
How to Remove Stains From a Cooler
Stains come in a variety of shapes, sizes, and strengths. Naturally, you may need a different solution for different stains. You can use any stain removal techniques below on any color cooler.
What You Can Use
Isopropyl rubbing alcohol applied with a paper towel or cotton swab may remove a stain immediately. Or it may need time to soak.
High-pressure wash sometimes provides the force you need to remove a stain, especially those with a raised surface.
Melamine foam is found in the well-known Mr. Clean Magic Eraser. The magic it performs is actually just something akin to very fine sandpaper. Wet the magic eraser with warm water and wipe away the stain.
Denture cleaner is an unconventional approach, but it cleans the stains from dentures and will do the same for your cooler.
Bleach is usually the first approach to mold and stains. For dark stains or general discoloration, you can leave a bleach/water solution to soak for up to an hour.
Purple Power is a name-brand stain remover known to take stains from plastic. You can even use it with a magic eraser for extra power.
Vinegar mixed with carbonated soda is an easy option to remove light stains. You just mix the two and use a rag to scrub the stain. It may just lighten a darker stain, so you might need something stronger to finish it.
Steel Wool Users Beware
Some guides on how to clean a cooler or remove stains from a cooler recommend using steel wool for the most difficult stains. If you decide to go this route, proceed with caution.
If you are not concerned with the aesthetic of the cooler and just want to get it clean, steel wool is definitely an effective option. It will scratch away the stain, but it will also scratch up the cooler. These scratched areas will likely get dirty more easily too, making your job harder next time.
Removing a Foul Smell From a Cooler
Anyone who has ever attempted a cooler cleaning after holding raw fish or game meat knows that getting that smell out requires much more than soap and water.
Smell removal is most effective if you do it right away.
Once you clean off all the dirt and grime, it only takes a few simple steps to remove a smell from a cooler:
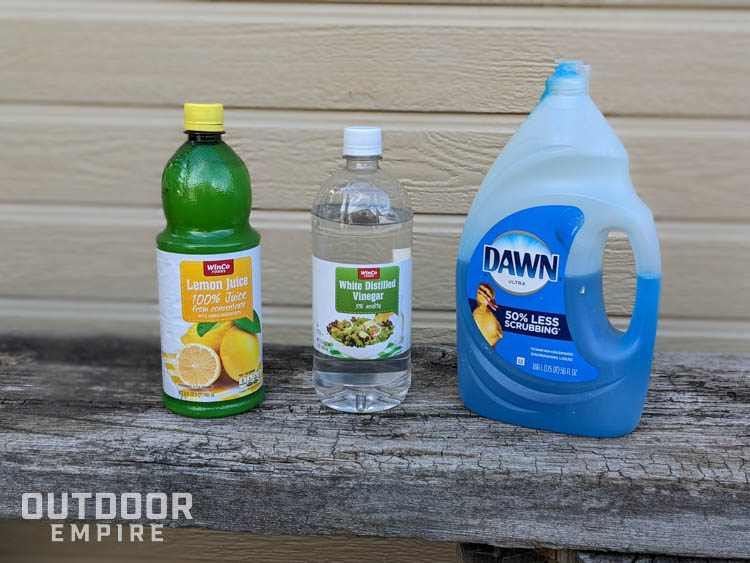
- Combine natural vinegar with lemon juice and a drop of dish soap. Mix it and allow it to sit for around a half-hour.
- Pour the mixture into the cooler and use a soft-bristled brush to distribute it everywhere.
- Rinse and repeat the process until the smell is gone.
How to Make a Cooler White Again
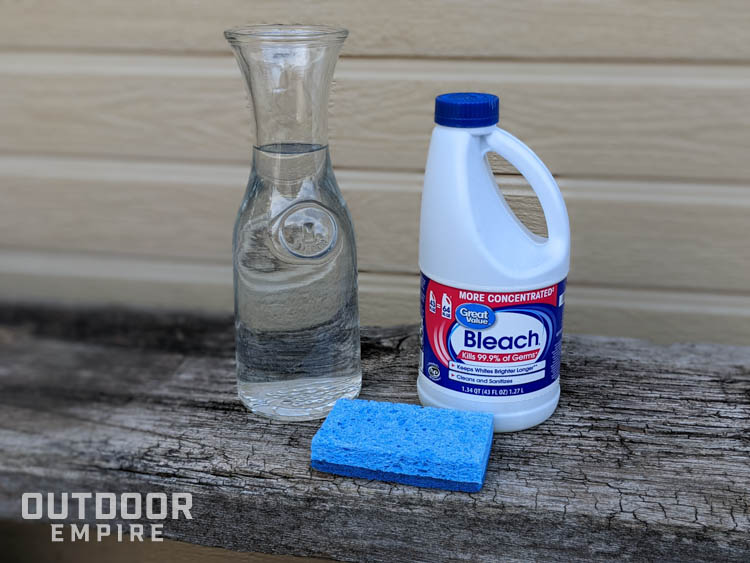
The most effective way to restore the cooler after discoloration from stains is to use bleach. You can mix it with warm water, scrub it with a sponge, and rinse.
You can also allow the solution to sit for 30 minutes to an hour for better results.
How Often Should You Clean Your Cooler?
Ideally, you would clean your cooler after every use. However, that is not always feasible.
If you are on a camping trip, you may use it every day for several days without access to everything you need to clean it properly.
Additionally, you should never carry unnatural cleaning chemicals and dump them into a natural environment, especially waterways. This risks endangering wildlife and their habitat.
You can always use the above guides for stains, mold, or smells later when you can contain the wastewater.
What Can You Do To Maintain Your Cooler?
Regular use of harsh chemicals and scrubbing to get rid of stains and mold will wear down your cooler quickly. Leaving it in direct sunlight for extended periods will dull its color or cause it to warp and degrade.
Keep your cooler in excellent condition by cleaning it with soap and water regularly and taking it inside to store in a dark, dry place.
By now, you should have a better understanding of how to clean a cooler, how to remove stains from a cooler, and how to remove odors from a cooler.
Maintain a cleaning routine after every use, and you should avoid hard stains and mold. Odors are sometimes unavoidable, but at least now you have a simple solution.
Related: How To Store Coolers So They Stay Clean and Last Forever
Check out our Cooler Buying Guides:
Best Coolers Reviewed (Budget to Best on The Market)
Best Rotomolded Coolers Reviewed (Top High-end Cooler Picks)